Do your clothes take an unusually long time to dry? If so, you might not need a new dryer—it may just need to be cleaned. Lint and dust buildup can block proper airflow, resulting in poor performance and inefficiency. Here’s how you can clean your dryer to keep it running safely at peak performance.

Keep the Lint Screen Clean
Emptying the lint screen between every load is the easiest step you can take to keep your dryer clean. This screen is designed to prevent lint from entering your dryer’s ventilation, but if it’s clogged, it will do more harm than good.
How to Clean the Lint Screen
- Locate the lint screen: To clean your lint screen, you need to find it first. It is typically near the dryer door or on top of the unit.
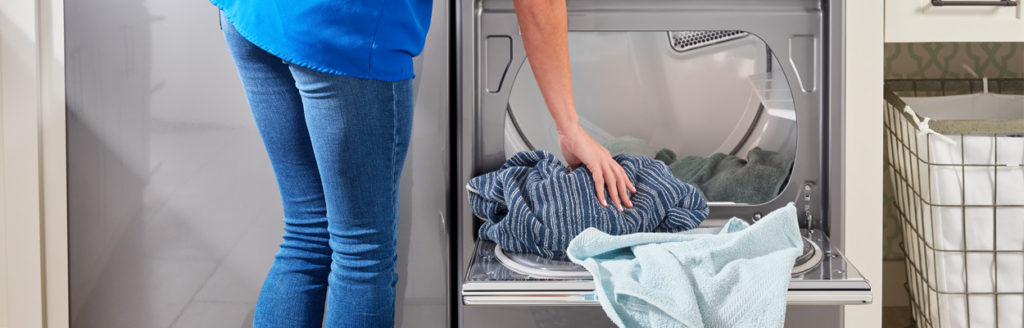
- Remove lint screen: Remove the screen by pulling it up and out of the lint trap and dryer itself. Here you can see how the lint catches on the screen and builds up during each use.
- Clean lint from the screen: It’s easy to remove dry lint with your hand. There’s no need to use water. Wet lint is more difficult to remove.
- Return clean lint screen to the trap: After you have cleared the entire screen, replace it in the same direction as you found it.

Clean the Lint Trap and Dryer Exterior
Always check and follow your appliance and product use and care instructions before beginning any task, as they should be your primary source of information. Cleaning the outside of your dryer, especially around and in the lint screen trap, will help prevent lint buildup and help maintain optimal dryer performance.
How to Clean the Lint Trap
- Remove lint screen: Clean your lint screen like you usually do after each load. Set it aside for now.
- Turn off/unplug dryer: Be sure to turn off and unplug the dryer for safety before attempting to clean the interior and/or exterior.
- Clean the lint trap: Using a vacuum crevice tool attachment or dryer cleaning brush, carefully clean the inside and outside of the lint trap.
- Clean moisture sensor: Be sure the moisture sensor strips on the outside of the lint trap are cleaned as well. This sensor often gets covered in lint and dust, which can impact dryer performance.
- Return lint trap and electrical cord: When you’ve finished thoroughly cleaning, make sure to return the lint screen to its proper position, close the door, and plug the dryer back in.
Once you’ve cleaned the lint screen trap, use a machine cleaning wipe such as a microfibre cloth and cleaning spray to wipe down all outside surfaces, knobs, and buttons.
Deep Clean Your Lint Screen Every Six Months
Even with regular cleaning, residue from dryer sheets, detergent and fabric softener can build up on your lint screen. You may begin to see spots of lint that stick, blocking the screen, which can cause your dryer to work longer to dry your clothes. Cleaning your lint screen every six months or so can help to prevent this.
How to Deep Clean your Lint Screen
- Remove all lint from the screen first by hand.
- Thoroughly wet both sides of the lint screen with hot water.
- Scrub both sides with a nylon brush using liquid detergent mixed with hot water. This process will help remove buildup on the screen.
- Rinse again with hot water and dry the screen thoroughly before returning it to the dryer trap.
How to Clean the Dryer Drum, Exhaust Vent, and Duct System
With all the moving parts and functions, dirt, fibres, and debris can inevitably get stuck and lodged in the drum, ventilation, and duct system.
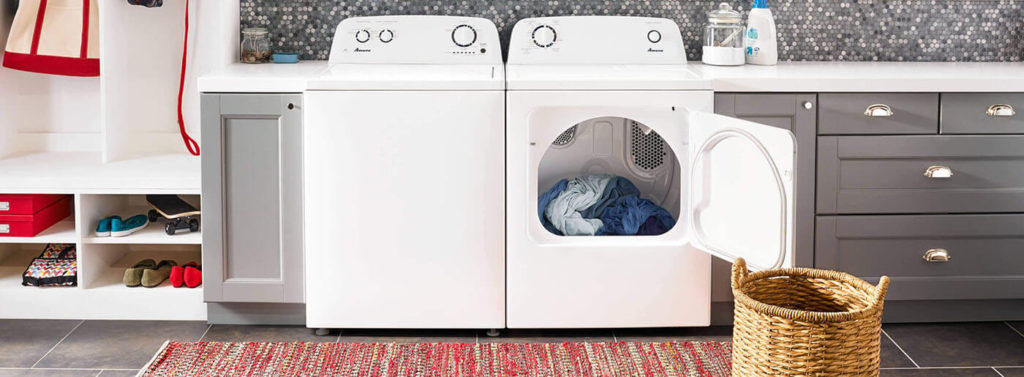
How to Clean the Dryer Drum
- Initial cleaning: Vacuum all crevices and edges and clear dirt and debris before cleaning.
- Scrub the interior:
a. Electric dryers: Using a soft cloth dipped in warm soapy water, scrub the drum walls and both sides of each baffle.
b. Gas dryers: Use the same method as an electric dryer but only use a liquid nonflammable household cleaner. - Rinse: For both electric and gas dryers, rinse well with a wet sponge or clean towel.
- Dry: Tumble a load of clean clothes or towels to dry the drum.
How to Clean the Dryer Vent and Duct System
Along with heat, dryers require good airflow to dry laundry efficiently. Proper venting will reduce drying times and improve your energy savings. The venting system attached to the dryer plays a big role in good airflow. Blocked (with lint) or crushed vents as well as improper venting installation will reduce airflow and dryer performance. If you notice weaker airflow through the exhaust, schedule a service appointment. If you have a dryer from the Whirlpool family of brands, the Appliance Pros can help you. Otherwise, purchase a dryer vent cleaning kit and follow these steps.
- Safety first: Always unplug your dryer before cleaning. On gas models, close the shut-off valve on the gas line as well, then disconnect and cap off the supply line pipe to ensure no gas is leaking.
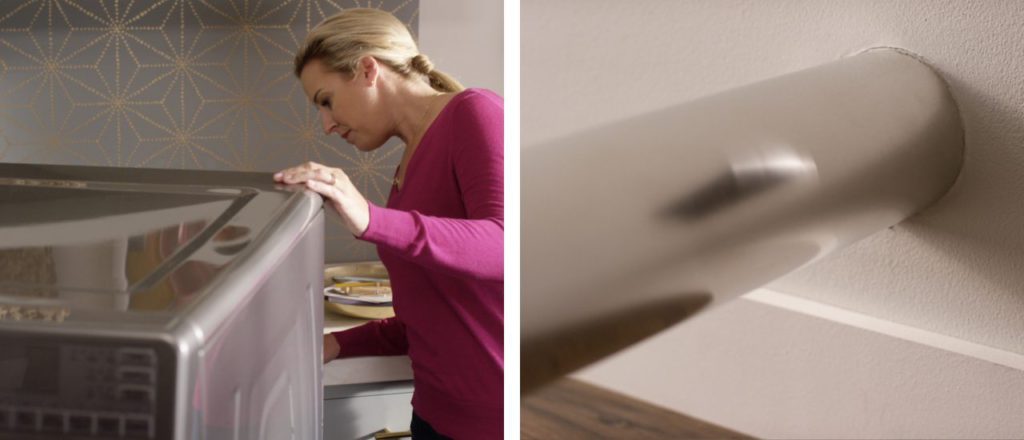
- Locate your exterior exhaust vent: It is typically found outside on the wall adjacent to your dryer. Keep in mind that some dryers may exhaust through the roof or your attic.
- Remove cover: Carefully remove the plastic cover from the exhaust vent and remove any clamps or duct tape holding the ventilation on the backside of your dryer.
- Clean vent with cleaning kit brush: Gently and carefully push the brush from your dryer cleaning kit as far as possible through both ends of your dryer duct. Clean up and dispose of any lint and debris.
- Refit ventilation system: Reconnect the vent cover to the exhaust port and replace the vent to the dryer’s rear.
- Run empty cycle: Run an empty dryer cycle for 10-15 minutes to blow out the remaining dust and confirm the exhaust is blowing at full force.
Even with frequent cleaning, all dryers eventually need to be replaced. If it’s time for a new dryer, check out our Appliance Finder tool.