Table of contents

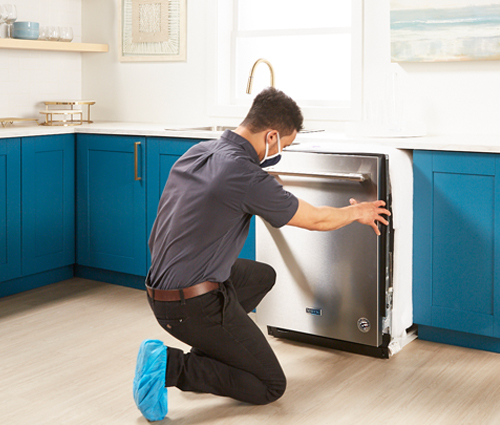
How to Install a Dishwasher

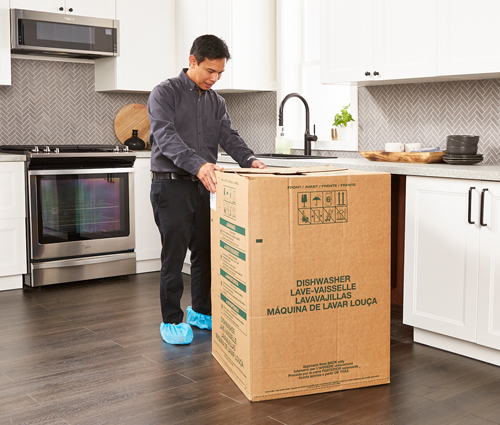
Dishwasher Installation Supplies

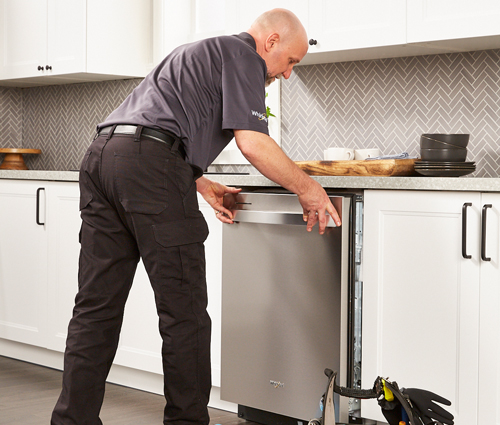
Step-by-Step Guide


You might be wondering: what do I do with my old dishwasher? Check out our helpful Guide to Removing, Disposing or Recycling Appliances.
Ready to Get Started?