Should you roast or should you bake? That’s the question! These tried-and-true cooking methods are used in many of your family’s favourite dishes. Read on to learn about the differences between the two cooking methods, the advantages of each, and how and when to use them to achieve the best results.
Table of contents

How do Roasting and Baking Differ?

It’s tempting to think that simply turning up the heat while baking will get the job done quicker, but that’s actually not the case. While roasting is hotter, it isn’t always faster. The method you use will depend on the food you’re cooking and the results you want. If you try roasting foods that are commonly baked, you can burn the outside while leaving the inside undercooked. On the other hand, foods that are commonly roasted, such as potatoes or squash, need higher temperatures to get tender on the inside and browned and crispy on the outside.
If you want to get that browned crust on the outside of a baked food, you can simply finish off the recipe quickly under your broiler. Unlike roasting and baking, broiling involves placing your dish close to your oven’s heating element, allowing the food to brown, char, or caramelize quickly.
What’s the Difference Between Convection Roasting and Convection Baking?

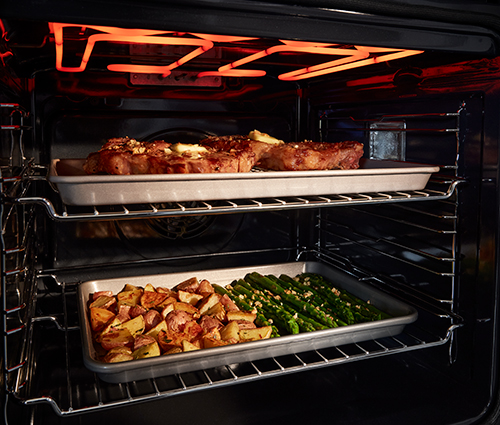
When it comes to convection roasting and convection baking, the main difference is in the temperature. Baking temperatures are lower, while roasting temperatures are higher. Convection ovens have an additional heating element and a fan that circulates hot air throughout the oven, keeping the temperature at an optimal level.
Roasting 101: What is Roasting?

Roasting is a cooking technique that uses higher temperatures to achieve a browned exterior crust on food cooked largely in an uncovered pan. Roasting works best on “structured” or sturdy food, such as potatoes, carrots, cauliflower, and squash, as well as meats such as ham, beef, or turkey.
Is it best to roast or bake a turkey?
How to Roast

Step 1: Follow your recipe to set the oven temperature
Step 2: Clean and prepare your ingredients; place them in a pan
Step 3: Keep your eye on the temperature and baste as needed
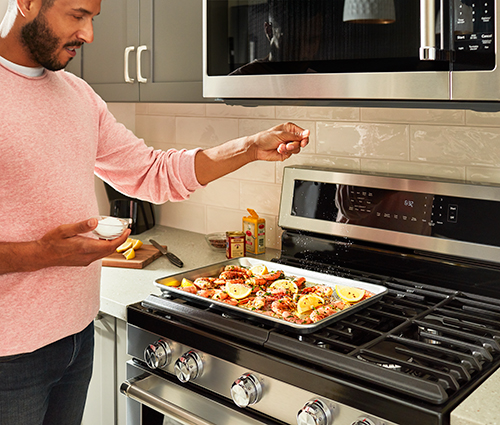
To accurately check when meat is cooked to your liking, use a cooking thermometer. Veggies are much easier, and are generally ready when they are fork tender and have a bit of browning on the outside. If your recipe calls for basting — a popular method of keeping meat moist by pouring its own juices over it while cooking — try not to open the oven door too often, as each time the door is opened there is a risk that heat will be lost and food overcooked due to oven cycling.
Step 4: Remove the dish from the oven and allow it to rest
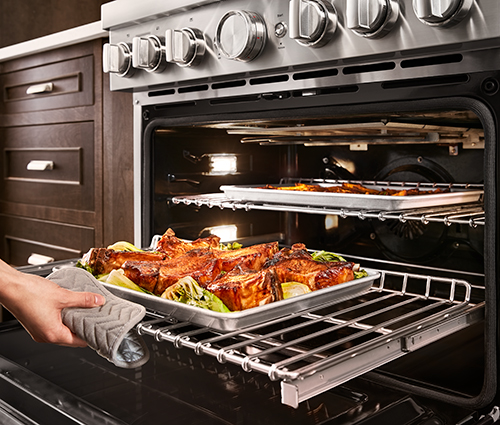
Once your dish is finished, remove it from the oven and let the meat rest for around 10 to 20 minutes before carving. This allows the meat to cool and the juices to be redistributed.

Need to know more about the difference between conventional and convection ovens? Explore our helpful guide to learn more.
Baking 101: What it is, and how to do it

Baking uses moderate temperatures (lower than for roasting) to cook food and get a nicely browned crust. Typically, baking is used for “unstructured” foods such as lasagna, quiche, cakes, pies, small cuts of chicken or fish, and casseroles. Baking is also a great way to add texture and browning to the surface of your dishes without drying them out.
If you’re unsure about whether to bake or roast your meats, consider the size. If you’re cooking a whole chicken or ham, it’s usually best to roast. If you’re cooking boneless chicken breasts or pork chops — in other words, meats with lower fat content — baking should do the job.
How to Bake

Nothing smells better than the aroma of a slow-cooking family dinner wafting through the house. It’s a mainstay of many cultures, and it’s easy to bake a delicious meal that will bring the whole family together.
Step 1: Start by preheating the oven
Always follow your recipe and fully preheat your oven before placing any food inside. Also, be sure to follow the recipe time carefully to avoid overcooking or undercooking your dish.
Step 2: Select the right dish for baking
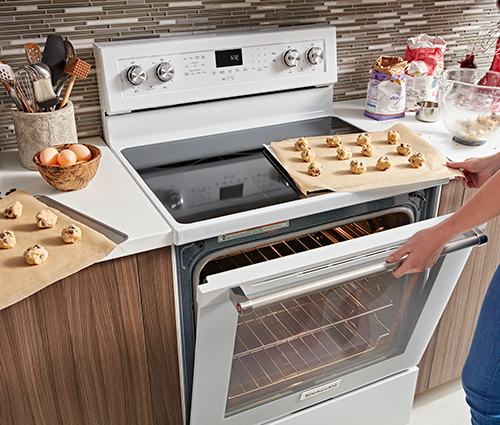
To get the best results with baking, use a baking sheet or casserole dish — ideally placed on the middle rack. To ensure optimal rack placement, refer to your Use and Care Guide, as it can vary by cycle and cavity. Shallow dishes help to keep excess moisture from gathering, and help you achieve nicely browned meat skins and caramelized vegetables. Remember that non-stick or glass pans, as well as dark or dull pans, may require shorter baking times compared to insulated or stainless steel pans.
Step 3: Cover or uncover the food as desired
Baked foods are usually uncovered, but not always. Follow your recipe, as it may call for periodic covering with a lid or aluminum foil to maintain moisture. For example, casseroles and lasagnas usually start out covered to avoid drying, but end without a cover to get nice browning and crisping.
Step 4: Check the temperature and level of browning
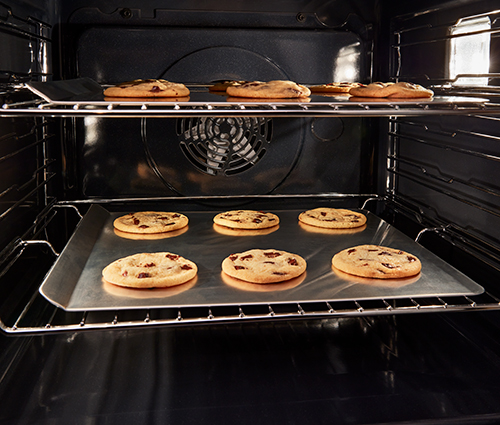
A cooking thermometer will allow you to accurately verify the internal temperatures of meats before removing them from the heat. Also, watch for a crispy top and bubbling around the edges of pasta dishes and casseroles to help determine doneness.
Not Sure Where to Start?


