Whether you’re a newcomer to laundry or a seasoned expert, it’s important to know how to properly wash and dry each item so that it is as clean as can be and can last as long as possible.
Step 1: Know Your Laundry Symbols
Learn more here about decoding laundry care symbols.
PRO TIP: If you want your whites to stay looking their whitest, consult the triangle on the clothing label (if there is one) for bleaching instructions.
PRO TIP: Due to the advent of modern technologies found in most laundry machines, ironing usually isn’t necessary. If a particular piece of clothing does require ironing, or you simply want nice, crisp creases in your pants, symbols shaped like an old-fashioned iron will provide guidance on exactly how to do it.
Step 2: Prep your Clothes
Start preparing your laundry load by reviewing all the labels, and then setting aside any articles of clothing that need to be handwashed or dry cleaned.
Once your load is all sorted, empty every pocket, close zippers, fasten hooks and tie any strings. Also, turn any item that is prone to odour retention and fading, like jeans and workout clothes, inside out. Lastly, make sure to turn sweaters inside out to help avoid pilling.
It’s always recommended to pre-treat any stains or soiled areas. There are some top load washers on the market that have a water station where you can soak and pre-treat garments with water or water and detergent. This helps treat stains before they are machine washed.
PRO TIP: Wash your gym clothes inside out to help soapy water reach the inside surface where sweat and odour often get trapped.
PRO TIP: New clothes need to be washed on their own for the first few cycles. This is because new clothes have a tendency to readily bleed dyes.
- Fresh stains are much easier to remove than stains that have had time to set, so treat every stain right away. If the stain is on a non-washable fabric, you should take it to the dry cleaners as soon as possible. It’s a good idea to tell them about the stain and the fibre content of the garment so they can dry clean it accordingly.
- Always follow package directions when using any stain removal product.
- Always test stain removers on a hidden part of a garment, like an inside seam, for colour fastness. You can perform a test by applying the product and then letting it stand for 2-5 minutes, and then rinsing it. If the colour changes, do not use this stain remover on the garment.
- To clean a stain, place the stained area face down on either a dry paper towel or a white cloth. Apply stain remover to the underside of the stain to force it off the fabric surface, not through it.
- Only use bleach on the entire garment, not just one area. This can prevent uneven colour removal. Always be sure to follow the manufacturer’s product use instructions and carefully follow the care instructions and any warnings on the garment care label regarding bleach usage.
- Avoid putting chemical dry cleaning solvents directly into a washing machine.
- Avoid a fire by carefully rinsing and air-drying the area(s) treated with dry cleaning solvents before placing the garment in the washer.
- Never mix stain removal products. For instance, mixtures involving ammonia and chlorine bleach can produce noxious fumes.
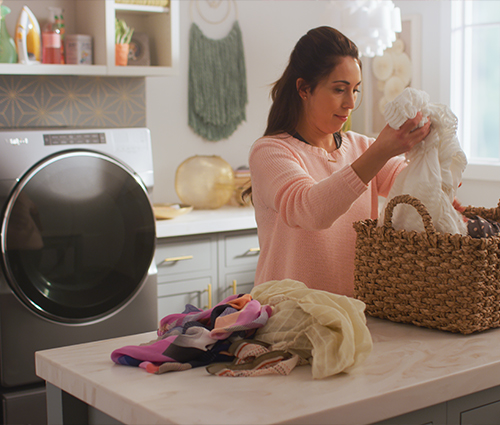
Step 3: Carefully Sort and Separate Laundry
COLOUR: Separate whites, lights and darks. This way you can avoid the risk of dyes bleeding out and staining other items.
FABRIC TYPE: Divide into denim, cotton, synthetics, blends, delicates, towels and bedding. Washing delicate and more durable fabrics separately may help prevent damage, as heavier fabrics are typically more abrasive, which may cause too much wear and tear on delicate clothes, resulting in other damage being caused. It can also help achieve more even drying, if they are are all transferred to the dryer together.
SOIL LEVEL: Separate heavily soiled items from lightly soiled items. More soiled items usually need to be washed in a longer, heavy-duty cycle.
PRO TIP: Separate the lint-givers from the lint-takers. Keep lint off clothes by washing lint-giving fabrics like towels and rugs separately from lint-takers like knits and corduroy.
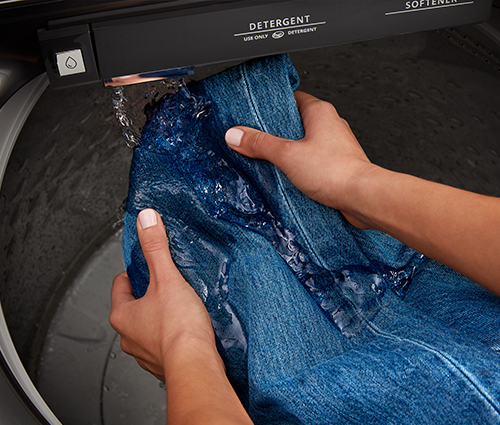
Step 4: Add Detergent
The next step is to add the right amount of detergent to the machine.
Start by pouring detergent into the dispenser or, if there isn’t one, pour it right into the tub. Measure according to the package instructions. The amount of detergent you require is dependent on the load size and the detergent concentration. If you use detergent pods, place one in the bottom of the tub.
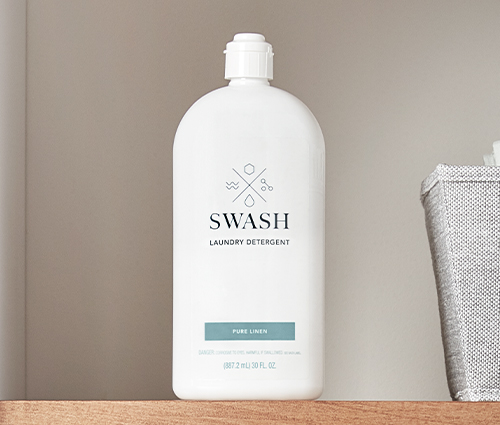
Swash™ liquid laundry detergent from Whirlpool Corporation works in both HE and non-HE washers. It is 8x concentrated, meaning you can use less than regular detergent. Another benefit is the compact and intelligent bottle design with a Precision Pour Cap that prevents waste caused by overpouring.
Many people opt to include fabric softener in their laundry routine. Fabric softeners smooth and coat fibres making them feel softer, tackle wrinkles, reduce static and in some cases can add a fresh, pleasant fragrance to your clothes. For liquid softener, always measure the correct amount for your load, as indicated on the fabric softener packaging. Add liquid fabric softener to the designated softener dispenser at the beginning of your wash, if your model has this feature. Check the care label of each clothing item before use.
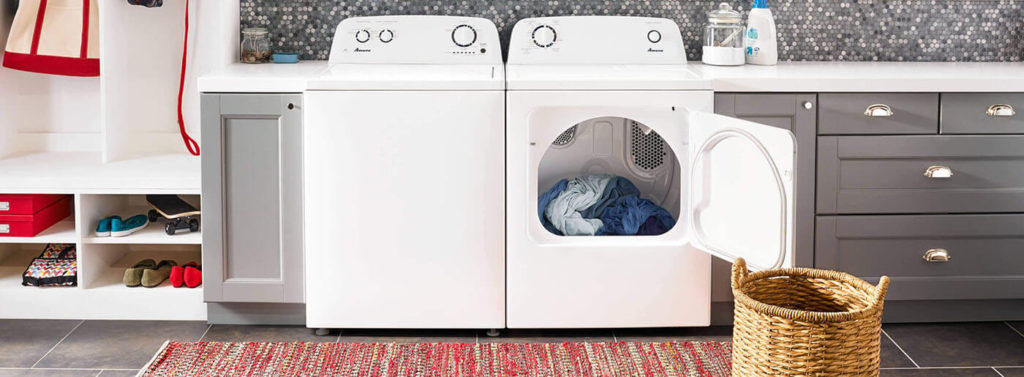
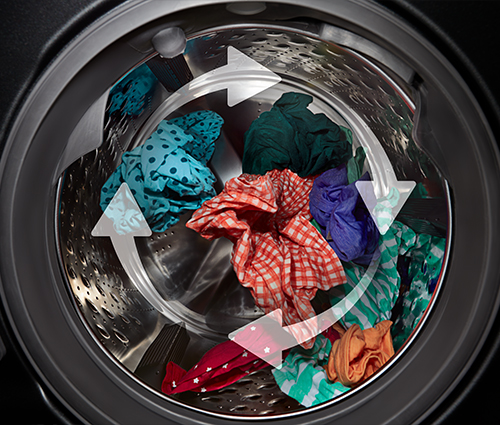
Step 5: Load the Washer
PRO TIP: When washing bulky single items like a rug or jacket, add a few extra items to balance the weight.
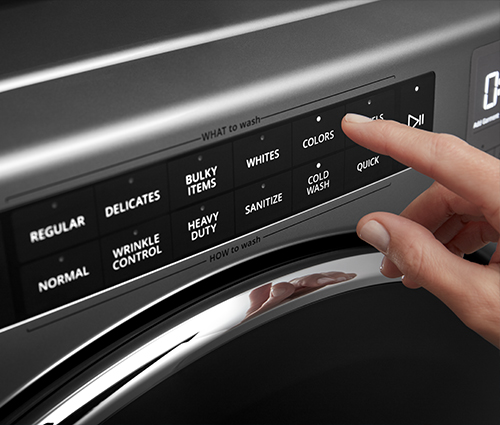
Step 6: Select the Wash Settings
Many washing machines are engineered with a variety of cycles, each geared toward helping ensure your clothes are cleaned based on their specific needs. The Normal cycle is most likely your go-to for your more common loads. You may have to deal with different stains and fabric types, so consider another cycle option to achieve the most optimal clean.
- Select a cycle that matches your specific load. You may select a different wash temperature based on the soil level and the type of fabric being washed.
- Cold water wash: Often used to wash bright or darkly coloured cotton, linens, many casual items, mixed loads or clothes with cold water stains.
- Delicate cycle: Commonly used for lightly soiled sheer fabrics, lingerie, sweaters, blouses, pants or anything where the tag recommends a “gentle” cycle. Typically, it works by combining gentle wash action with low-speed spin for gentle cleaning that can also reduce wrinkling.
- Wrinkle Control/Permanent Press Cycle: Typically used for any item with this specific symbol on its care tag, such as fabrics that wrinkle easily like button-up shirts, professional clothes, linens, activewear or non-iron clothing. It uses warm water and slower spin cycles to release existing wrinkles and help prevent new ones from setting.
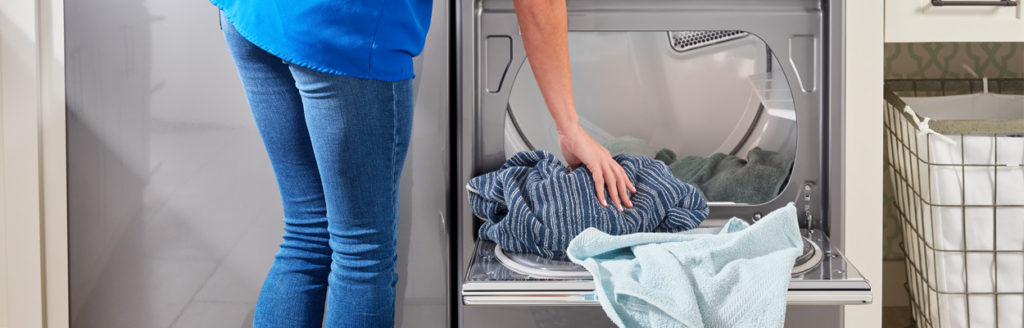
Step 7: Get Ready to Dry
Transfer clothes to the dryer as soon as they are ready. This can help reduce wrinkles and possibly prevent odour buildup.
- As you load, set aside stained items and anything that recommends air-drying on the tag.
- Fill the dryer about halfway for permanent press loads and three-quarters of the way for normal loads. Tightly balled up clothes or an overflowing drum can result in slower dry times and wrinkled items.
- Consistently clean the dryer’s lint screen by rolling lint off with your fingers. This helps maintain good air circulation for fast dry times. Do not use water to remove lint.

Step 8: Select the Dryer Settings
Most dryers have a suite of features and cycle options that optimize performance and make your laundry routine more efficient. Consult the care tags on your clothing and refresh your understanding of what the symbols mean with this quick guide.
- Regular/Automatic: Generally a high heat setting that is best for cotton and other items that take longer to dry like sweatshirts, jeans, beach towels, and sheets, to name a few.
- Delicate/Gentle: Typically a lower heat setting ideal for loosely woven fabrics or anything with embellishment like sequins and sports jerseys with iron-on decals. It’s important to dry spandex/exercise clothing on low heat because it prevents the fabric from fraying, fading and stretching.
- Permanent Press: Usually a medium heat setting ideal for clothes made of synthetic fibres or specially treated to protect against wrinkles. It also typically has a cool down period near the end of the cycle, switching from warm air to room temperature air to prevent wrinkling or creasing.
- To further help wrinkle prevention, certain dryers will periodically tumble the load at the end of the cycle (often with no heat added). This can help keep wrinkles from setting. The occasional tumbling can last for 30 to 90 minutes, depending on the dryer model.
PRO TIP: The “tumble dry” symbols mean that it’s okay to dry the garment in your dryer instead of air drying it.
Find Space to Neatly Fold
Check out this Related Article.
Find the right washer and/or dryer for you by using our appliance finder tool.