Each year, spring brings signs of life and the feeling of a fresh start. It’s the perfect time to dust off the winter cobwebs and get your house in order before the hustle and bustle of summer set in.
Many people avoid spring cleaning and much-needed decluttering because they simply don’t know where to start. To help keep things manageable, we’ve put together a list of tips and tricks for deep-cleaning two of the most important rooms in the house: the kitchen and the laundry room. Let’s get started!
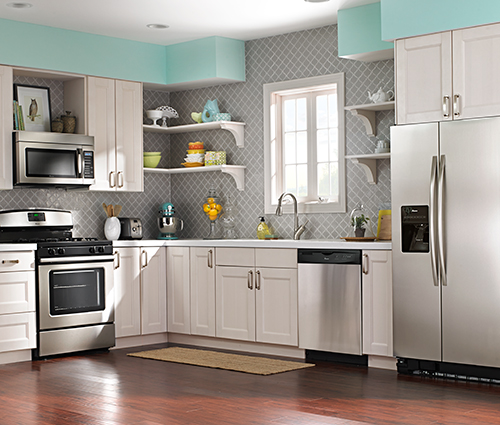
Kitchen Spring Cleaning List
Food brings us together, and the kitchen is at the centre of it all. Check out these tips to get your kitchen area and appliances in tip-top shape this spring.
Oven or Range
Start with the inside
To clean up spills, splatters, and residue:
- Mix a small amount of mild dish soap with warm water.
- With a clean cloth, use the soapy water to gently scrub the inside of your oven.
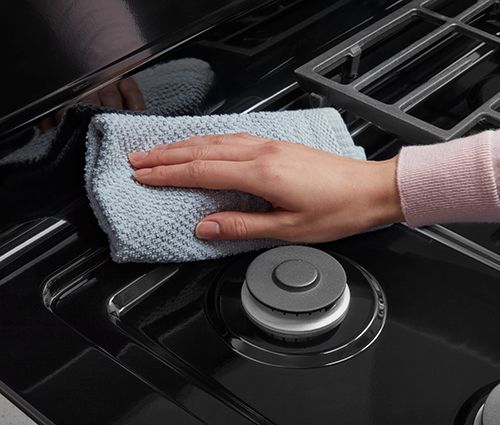
Burners, Grates, Cooktops, and Doors
Once the inside of your range is spotless, move on to the outside:
- Immerse your cooled oven grates and burner caps in warm, soapy water for at least 20 minutes. If they are cast iron, only immerse in water if they are seasoned or coated. Refer to your owner’s manual if you’re unsure how to clean uncoated cast iron.
- Wipe down burners with a gentle cloth and carefully remove baked-on food with a soft-bristled brush as needed.
- Dry burner caps and grates; put back in position.
- If your range has a smooth ceramic or glass top, consider using a recommended glass cooktop cleaner, such as the affresh® Cooktop Cleaner.
- Finish by wiping down the front of the oven door with a streak-free glass cleaner.
Refrigerator
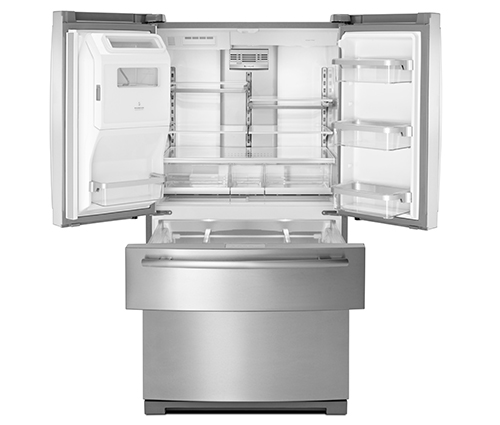
Make the inside of your fridge shine like new
Follow these simple steps to get started:
- Place the food from your refrigerator into coolers; discard any spoiled food.
- Remove drawers, shelves, and compartment covers. Once at room temperature, wipe down, rinse, and dry completely.
- Using a mild, non-abrasive cleaner, wipe down walls and all surface areas inside your refrigerator. Once finished, rinse with a clean, damp cloth and replace drawers and shelves.
Don’t forget your freezer!
If you see roughly ¼ inch of ice buildup, it might be time to defrost your freezer. Here are some tips on how to deep-clean your deep freeze.
- Start by unplugging your freezer and placing all frozen food in coolers.
- To catch any meltwater, lay towels on the floor in front of your freezer and place the end of the drainage hose (if you have one) in a plastic bucket.
- Prop the door open to let the ice melt. You can speed up the process by pointing a fan at the freezer.
- Once the ice is gone and the freezer is dry, mix one tablespoon of baking soda into four cups of warm water. Use this mixture to wipe down all interior surfaces and racks inside the freezer, then dry with a damp cloth before plugging the freezer back in.
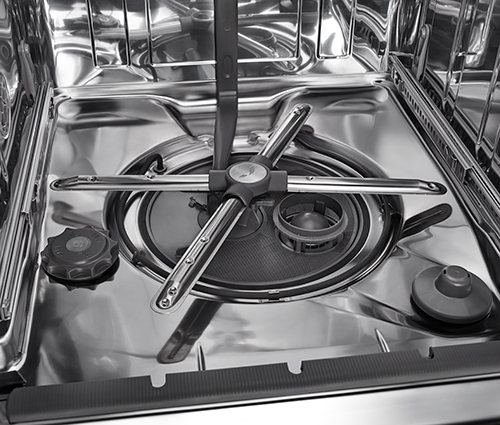
Dishwasher
Carefully clean your dishwasher filter
- Refer to your owner’s manual to find out exactly how to remove the filter from your dishwasher.
- Remove debris from the filter by running it under water and gently scrubbing it with a soft brush and mild dish soap.
- Return the filter to its spot in the dishwasher and make sure it’s properly secured.
Microwave
Remember to clean and replace the filters
Most microwaves mounted above the range have two types of filters: a reusable grease filter that can be cleaned monthly, and a charcoal filter that can be replaced annually. Follow these easy steps to replace your charcoal filter:
- Unplug your microwave and remove the screws securing the top vent panel.
- Gently tilt the vent panel down and away from the microwave; lift it away.
- Remove and discard the used charcoal filter.
- Insert a new charcoal microwave filter; ensure it is properly positioned.
- Return the vent panel to its position and secure it in place using the original screws.
General Kitchen Cleaning

Wiping down your cabinets
Use cleaning products recommended by your cabinet manufacturer, and follow these simple steps:
- Wipe down the outside of your cabinets from top to bottom with a soft cloth and a mixture of warm water and mild soap (or the recommended cleaning product).
- For harder-to-clean areas and crevices, use a toothbrush and a 50/50 mixture of vinegar and warm water (or the recommended cleaning product).
- Thoroughly dry all surfaces with a clean towel.
Don’t forget to sanitize your sink
For a deep clean, follow these steps:
- Fill your sink with a gallon (3.8 L) of warm water and a tablespoon of bleach. Be careful not to splash the bleach.
- With a sponge, wipe down the sink, faucet, and taps. Let sit for a few minutes.
- Drain the bleach solution, rinse thoroughly with water, and let air dry.
Keeping your floors spotless
The hard-to-reach spaces under your refrigerator and range can trap crumbs, dust, and food particles. Here’s how to keep these spots clean, too!
- Unplug and carefully move your appliance out of its usual place. Always follow the instructions in the product’s owner’s manual to safely move appliances.
- Sweep any large pieces of debris; then vacuum what’s left with a hard floor attachment.
- Mop the area with a floor cleaning mixture, and let it completely dry before returning the appliance to its place.
- Vacuum and mop the remainder of your kitchen floor to give the full area a squeaky clean look.
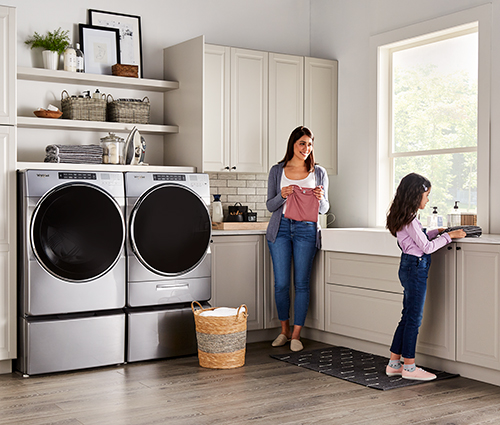
Laundry Spring Cleaning List
Freshen up your laundry room or area with these spring cleaning tips.
Washer
Get your washer sparkling — inside and out!
If you haven’t been cleaning your washer monthly, now is the time to start:
- Empty your washer and add an affresh® Washing Machine Cleaner tablet in the bottom. No tablets? You might try using liquid chlorine bleach, but be sure to refer to your owner’s manual first.
- Close the washer door and set it to the cleaning cycle or a normal cycle with hot water.
- For top load washing machines, run a rinse cycle to wash away any residue left behind following your cleaning cycle.
- Keep your washer door/lid open and let the washing tub dry completely.
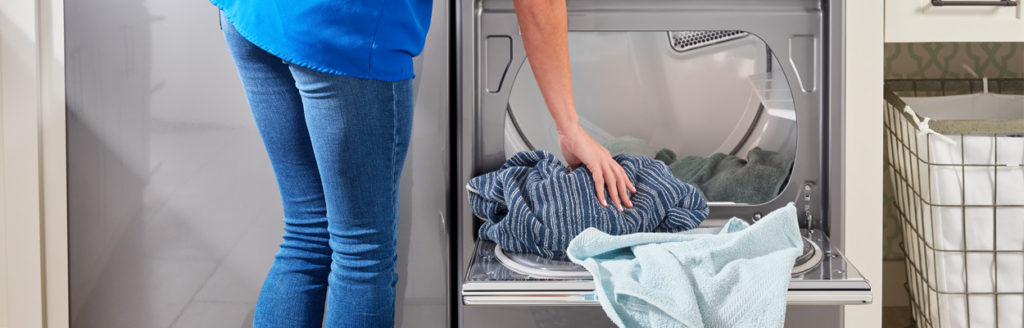
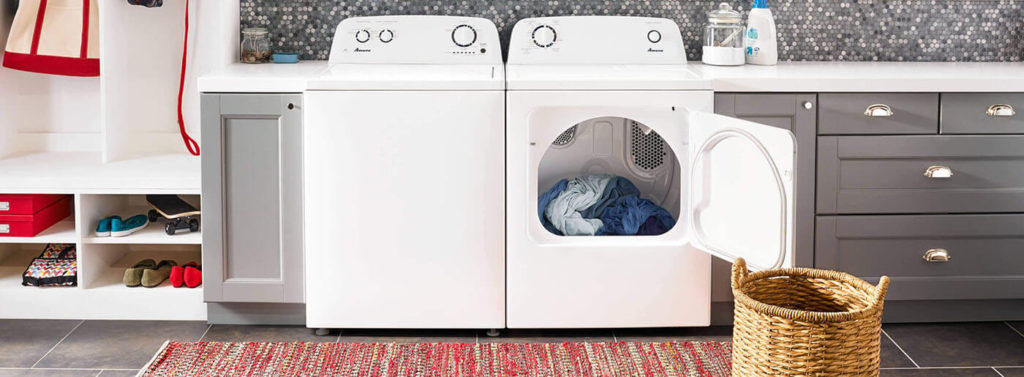
Dryer
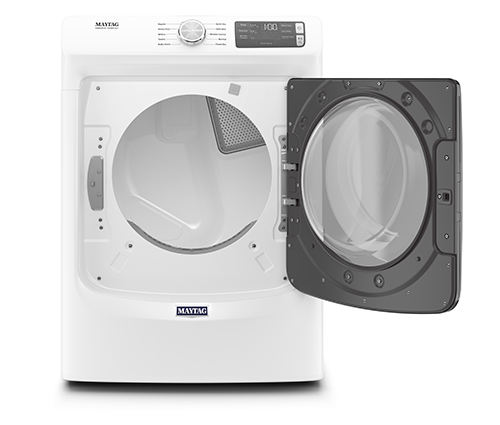
We know it’s probably not something you’ve ever thought about, but your dryer deserves a deep clean, too!
While the lint should be removed from the filter after each load, it’s recommended to deep-clean your dryer lint screen every six months — especially if you notice buildup that is a little tougher to remove.
- Remove all lint from the screen, then wipe both sides of the screen with hot water.
- Carefully scrub the screen with a soft brush and hot water and mild liquid detergent mixture.
- Rinse screen with hot water to remove any remaining buildup or soapy residue; dry thoroughly before returning to its spot in the dryer.
Cleaning your vents, duct system, and dryer drum
This may only be required once every few years. Start with your dryer drum:
- Remove any debris before cleaning.
- To clean an electric dryer, use a soft cloth dipped in mild dish soap to rub the drum. To clean a gas dryer, do the same but with a nonflammable liquid household cleaner.
- For either an electric or gas dryer, rinse with a wet towel or sponge.
- To dry the drum, tumble a load of clean clothes or towels.
General Laundry Cleaning Tips
Wash your pillows, curtains, mattress covers, and comforters
Spring is the perfect time to wash the items that tend to get forgotten!
- Remove window coverings and bedding, and bring them to the laundry room.
- Look for tags that contain washing instructions.
- While washing your bedding and window coverings, open up the windows in your bedroom to let the fresh spring breeze air out your mattress.
Clean and store your winter gear
Warm weather is just around the corner, so use this time to clean and put away your cold weather items, such as coats, hats, gloves, scarves, and boots.
- Gather up any cold weather clothing or items in need of a wash.
- Determine which items require which cycles. See tips for choosing the right laundry cycles for winter clothes.
- Once your winter items are washed and dried, store them in plastic bags or storage containers until they’re needed again.
Clean your laundry room floor
Remember to clean the areas that are hard to spot and normally get missed.
- Finish your laundry, fold and put away your clean clothes, and remove all items from the surrounding floor area.
- Safely unplug, unhook, and move your washer and dryer. (Refer to your owner’s manual to find out how to detach the units safely.) Vacuum and mop the exposed floor before returning them to their places.
- Finish by cleaning any countertops and surfaces, and vacuuming and mopping the rest of the floor. Begin at the furthest corner and work your way to the door to avoid stepping on the wet floor.
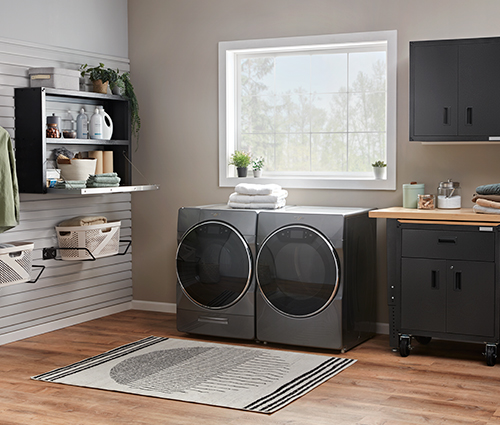
Maximize the space in your laundry room
You’ll need as much space as possible to fold and sort your clean clothes, so make sure your laundry supplies are neatly organized and your space is well utilized.
- Stock up on any laundry supplies that you’re out of or running low on.
- To optimize your space, consider installing shelves above your washer and dryer. This can help you conveniently store items such as detergent, stain removers, and dryer sheets.
- Create as much surface area as possible to help with folding — this could be a small table, a wall-mounted desk, or even a counter above your washer and dryer.
- To make it easier to transfer clothes from the washer to the dryer, consider installing a washer and dryer pedestal for additional height or storage purposes. Check out the newest pedestals from Maytag brand.
Start your spring cleaning now!


5 Responses
Good Article, would have been nice to have a PDF available to download &/or print.
Hi Sky,
Thank you so much for visiting our site and reading this article and we are glad you found it useful! If you would like to print or save any page as a PDF, you can try this by typing “Ctrl + P” on your keyboard to bring up the option to print or save to PDF by selecting the print destination. However, having a clear download/print button would be a great suggestion so I will see if we can get this feature added in the future. Have a great day – Whirlpool Customer Care team
Hi sKY,
Thank You so much for visiting our site and reading this article. We are glad you find them useful and that you enjoyed them!
– Whirlpool Team
I would like to order some control knobs for my stove
Hello Audrey, thank you for visiting our website and reading our blog post. If you are in need of replacement parts for your appliance and it’s from one of our Whirlpool brands (Whirlpool, Maytag, KitchenAid) you can find replacement parts on Whirlpool Parts Canada. I hope this helps! Sincerely, Whirlpool Customer Care Team
Comments are closed.